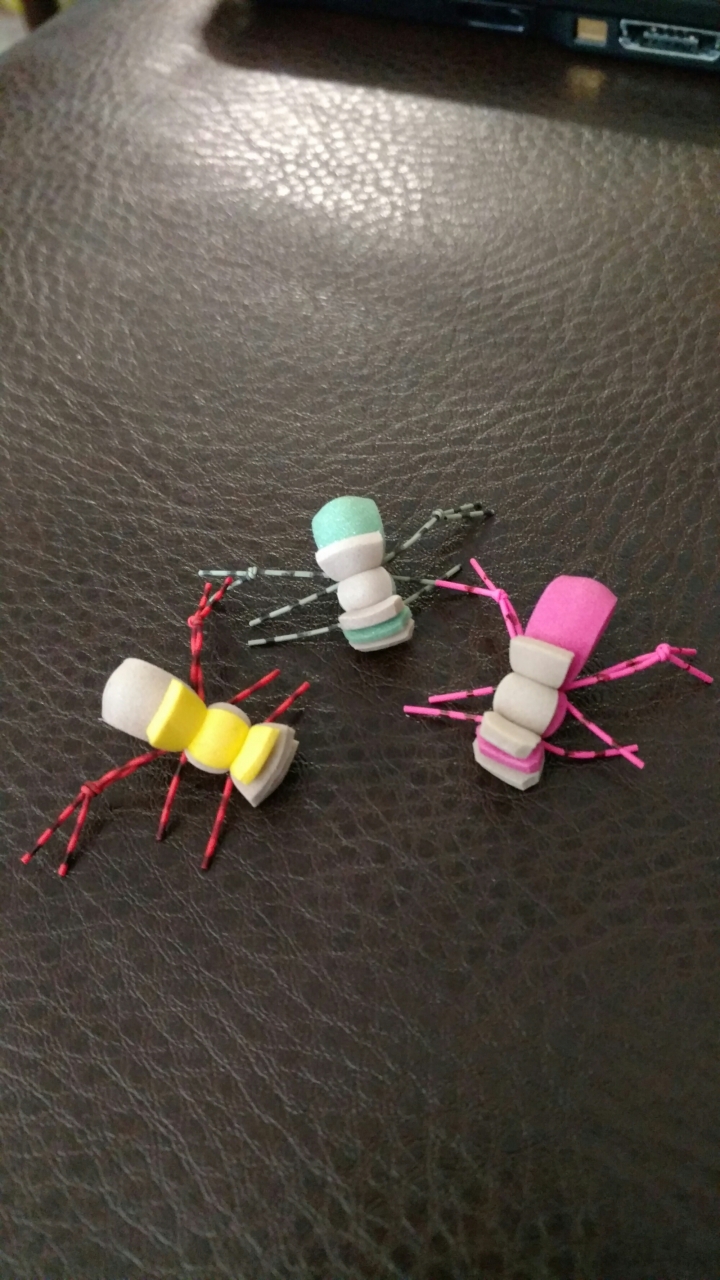
Here is great Hopper pattern I tie based on the Fat Albert Hopper. I use 2mm foam and UTC 140 thread. I also constantly spin my thread counterclockwise to make sure it is laying flat.
Start by laying a thread base. I prefer a 2xh / 3xl hook for this pattern. I am using a size 8 but try it in multiple sizes.
Next tie in you first piece of foam. This will be the outer back portion of your fly.
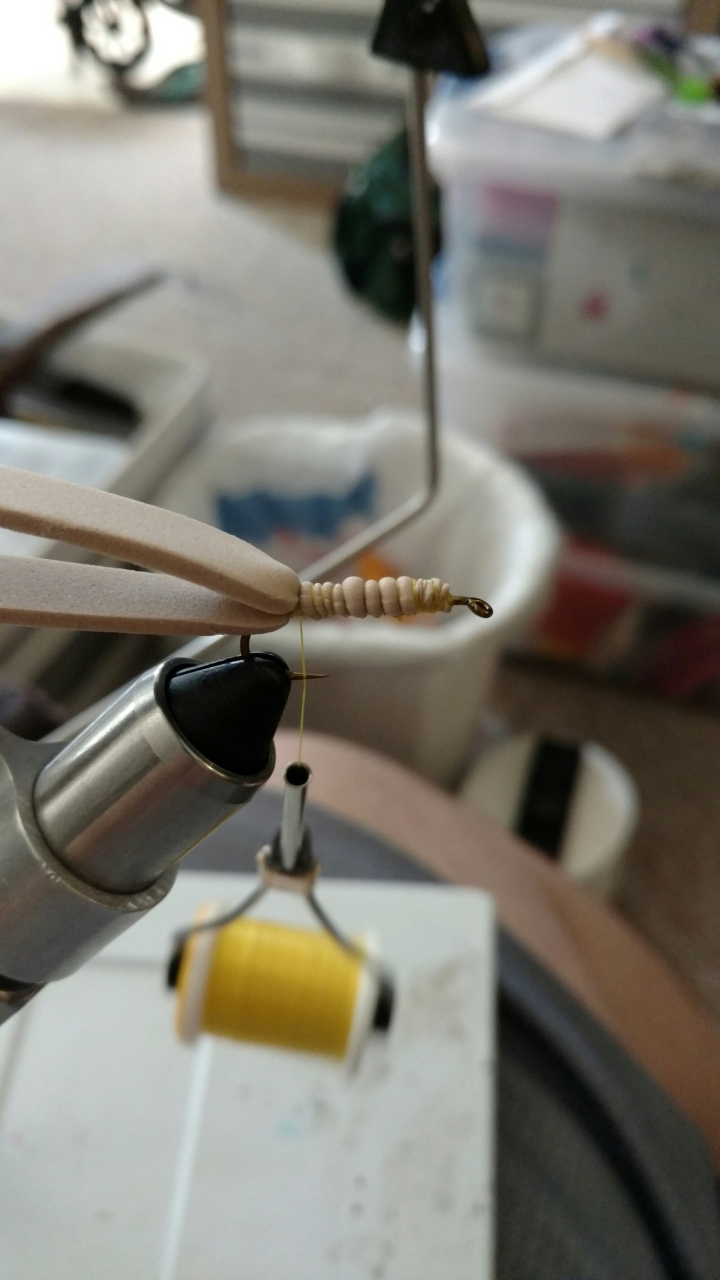
Next tie in another section of foam. This will be your segmented lower section.
Then take your thread and make a smooth underbody.
After your body is nice and smooth, take the second foam the you tied in and create a segmented body ending about mid way down the shank.
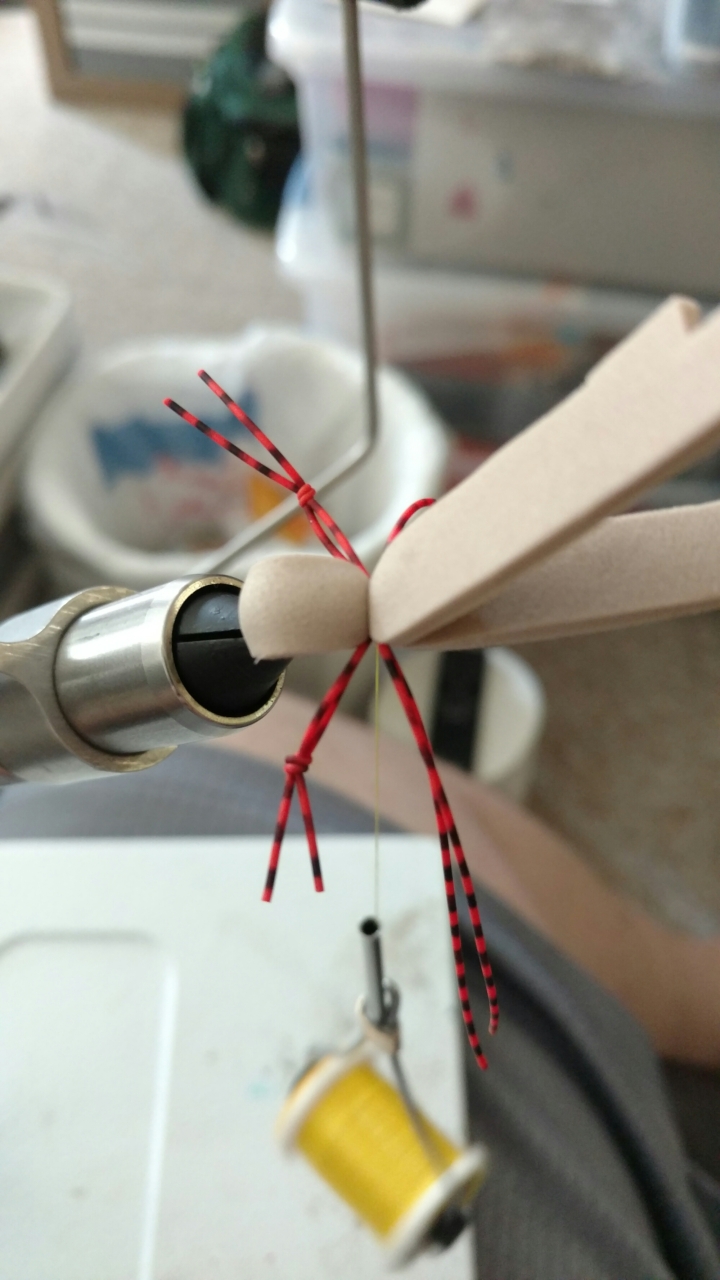
Next take the other piece of foam and tie it in over the body you just created.
The next step I take a 2 pair of Centipede legs and knot them making back legs for each side of the fly. Tie the legs in on each side with the knot just longer than the body.
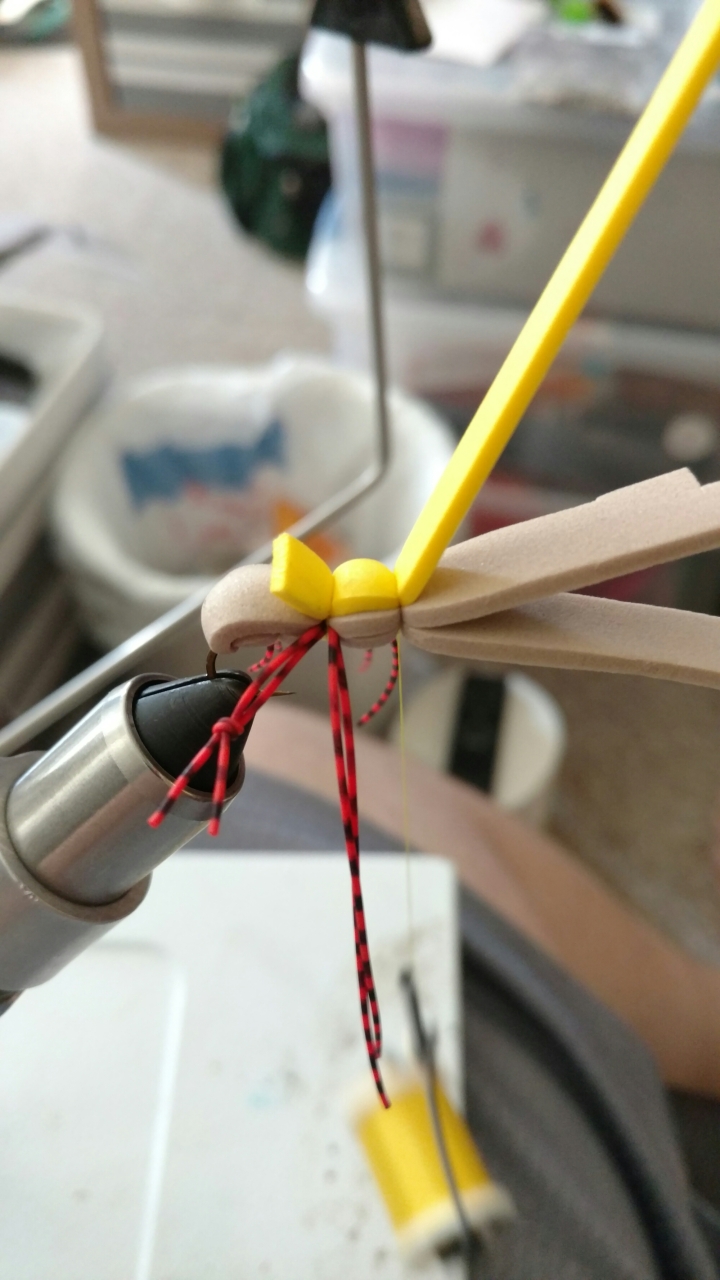
After the legs are in I tie in a third foam section usually in a bright or contrasting color to help see the fly on the water.
I then advance the thread to just behind the eye. Tie in the three foam pieces to create the thorax segment.
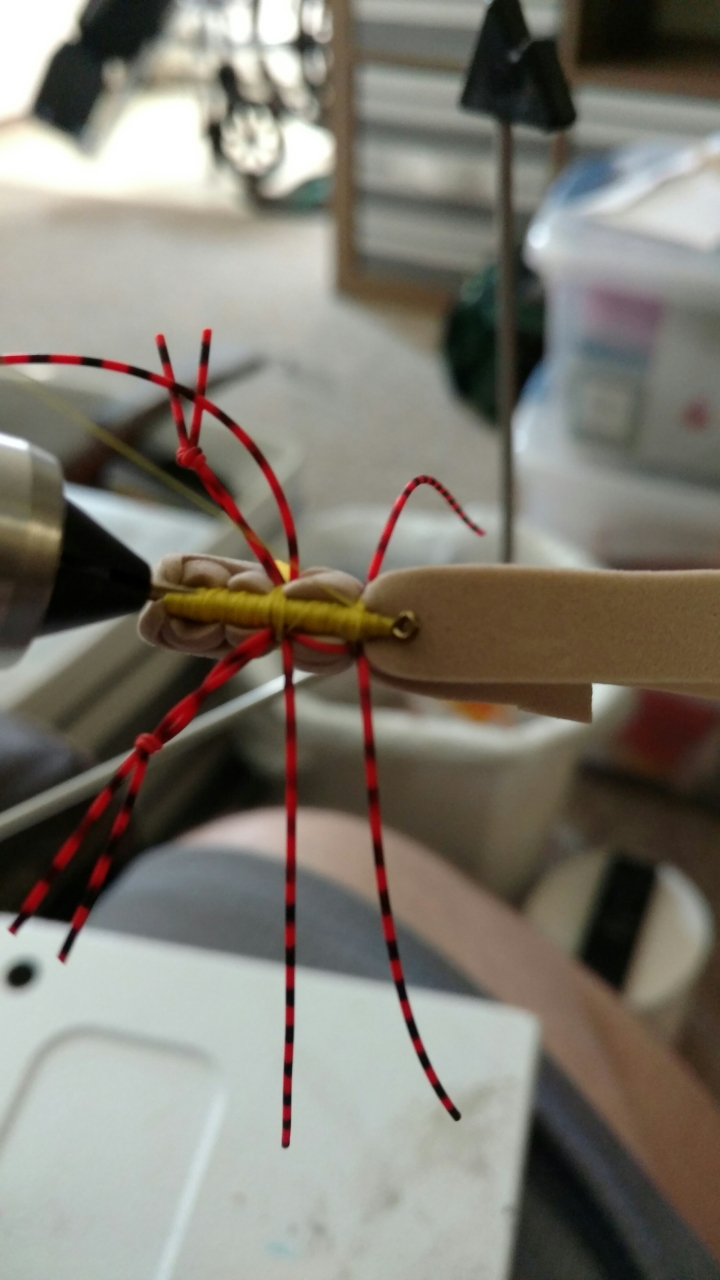
For the front legs I will take one of the sections of leg from the rear and pull it forward to tie in at the front. This leaves one leg facing forward at the rear and one leg at the front segment on each side.
After the legs are tied in hold the foam back and whip finish at the eye of the hook.
I finish the fly by coating the thread along the bottom with head cement.
It is a very buoyant fly that floats well. Try it in different color combinations. The fish love them!


